Showing posts with label recipe. Show all posts

Wednesday, 20 August 2014

Slow Cooked Creamy Chicken and Mushroom Casserole

We love our casseroles here at Crystalbrook Cottage!

This recipe is another of our family favourites.  It's so easy and cooks itself in the slow cooker during the day whilst I'm doing other things.  When dinner time comes you just need to cook some rice (I get the rice cooker out for that lol) and serve.

This recipe makes enough for two nights dinner, and at a guess, I would estimate it would serve 12 modest portions when served with rice.

Slow Cooked Creamy Chicken and Mushroom Casserole


Ingredients:

1.5kg skinless chicken breast fillets, trimmed and cut in half
3 medium carrots, sliced
3 medium potatoes, diced into 1cm cubes
2 x 420g cans Campbells Cream of Mushroom Condensed Soup
2 x 420g cans Campbells Cream of Chicken Condensed Soup
200g sliced mushrooms


Method:

Place the carrots and potatoes in the bottom of the slow cooker.  Place the chicken fillets (raw) on top of the vegetables.  Pour over the tins of soup and completely cover the chicken.  This may seem like a lot of soup but this is what makes the beautiful creamy sauce and you want a lot for your rice to soak up.

Place on Auto for 6 hours.  If your slow cooker doesn't have an auto setting, high for 4 hours or low for 6 - 8 hours.

An hour before the casserole is ready, stir through the mushrooms and continue cooking.

Prior to serving, take out the chicken pieces.  They should be cooked through and break apart easily.  Shred the chicken and return to the pot and stir.  Once your rice is ready, the casserole is ready to serve.  Here I've served mine with savoury brown rice.


Just perfect for these cold winter nights we are having in Melbourne... brrrr!

Until next time

Yours in Stitches


Leanne x


Wednesday, 11 June 2014

Ta Da! Star quilt and risotto.

Hello beautiful people.  Well I'm feeling very happy today!  It's a lovely, sunny, autumn day here in Melbourne... and....  my the piecing of my star quilt is complete!  I just have the borders to sew on before I send it off to BlanketLovez to be long arm quilted and bound.  From there it will find a new home at the Star Room in the Ronald McDonald House in Orange, NSW.


I must say its turned out wayyyyy better than I had imagined.  I love its rainbow colours and the pattern was straightforward and involved mostly chain piecing - what could be better!  If you intend to make this pattern, I would highly recommend drawing that dreaded diagonal line on each of your 2.5" blocks (Bonnie does suggest this in the pattern).  I didn't, out of sheer laziness, because I thought "hey, I'll just wing it" but then felt compelled to check each completed block to make sure it was still 4.5" square.... very time consuming.  The few where I had drawn the line were spot on, most were ok, but there were some that were so off I had to replace them with new blocks lol.  Oh well, with each quilt we learn something.  I'll post another pic with the borders on, in a few days.


The weeks are just flying by at the moment.  I've started my next group of subjects for my bookkeeping course (Asset Depreciation *yawn*) and we seem to be in the midst of birthdays, my Dad's last Saturday and my DH organised a lovely lunch at a rather spiffy hotel for his daughter who turned 18.


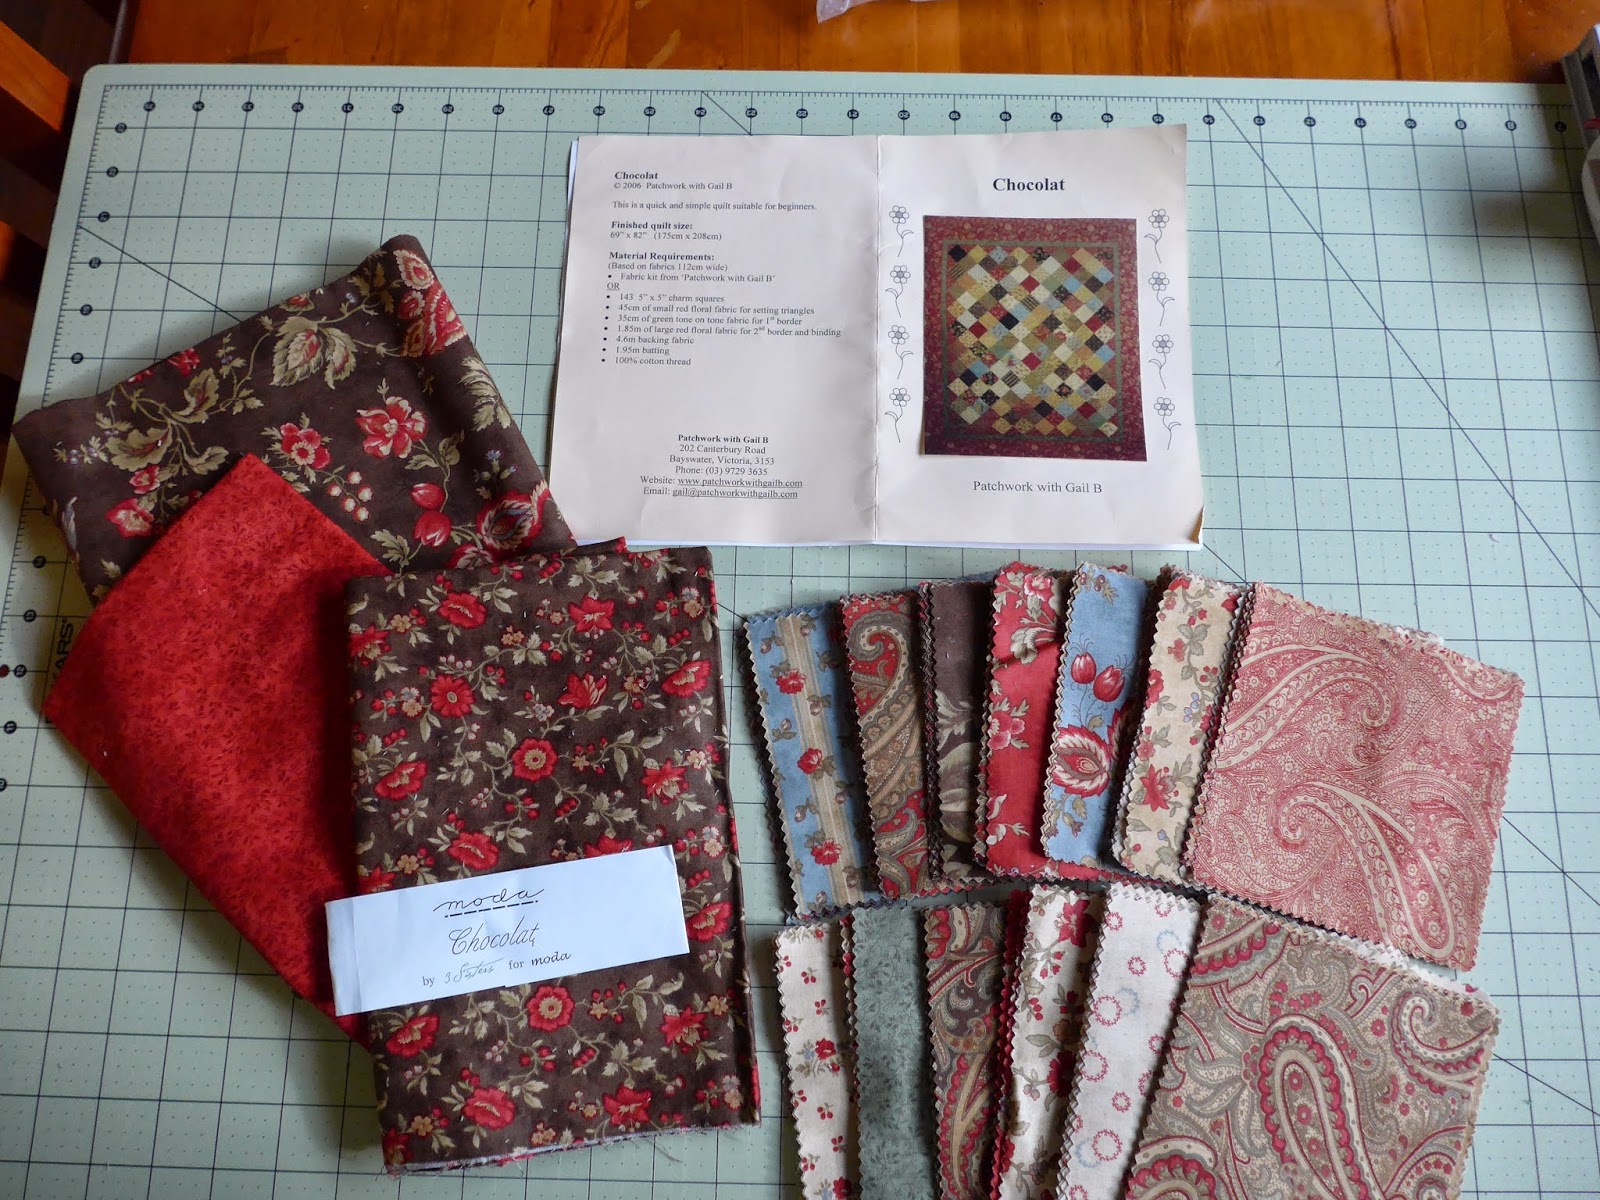
I found an old quilt kit I had bought many years ago at a quilt show.


I still love the fabrics but find the pattern doesn't really interest me anymore.  The kit came with 5" charm squares and all fabrics to make the top and even included the backing.  I've been itching to make a tumbler quilt and found this video on making the blocks from charm squares without having to buy a tumbler template.  Wonderful!


So I have cut the charm squares into the tumbler blocks and can't wait to start laying them out.  This is what has been pushing me to get the star quilt finished.


I thought I would share another recipe with you.  I love to feed my family meals made from real, back to basics, ingredients.  Wholesome and nutritious, just what growing bodies need - real food!  We had this earlier in the week and I had forgotten how tasty it is.  Previously I would make risotto the traditional way... lots of stirring and ladling in stock.  Pfft, this recipe requires none of that, and the results are superb.  Feel free to vary the ingredients and make it your own.


Oven-baked Tomato and Chicken Risotto            Serves 6


1 tbsp olive oil

1 brown onion, finely chopped
100g rindless bacon, chopped
500g chicken breast fillets, diced
2 cloves garlic, crushed
1 tsp finely grated lemon zest
1 tbsp finely chopped fresh rosemary
1/2 tsp dried chilli flakes (optional)
2 cups aborio rice
2 tbsp tomato paste
4 cups chicken stock
grated parmesan to serve


Preheat oven to 160C (fan forced).


Heat oil in large flameproof, ovenproof dish over medium heat.


Cook onion and bacon for 2 minutes.


Add chicken and cook, stirring for 3 - 4 minutes.


Add garlic, lemon zest, rosemary and chilli, if using, and cook for a further 2 minutes.


Add rice and cook, stirring for 1 minute.


Mix tomato paste and stock in a jug.  Pour over rice mixture.


Bake, covered, for 35 minutes or until rice is just tender and the liquid has been absorbed.


Stir through parmesan.


*****

Have I told you about my little recipe book?


I bought myself this little red hardcover notebook and in it I record all my favourite recipes.  I have some wonderful cookbooks but I got so tired of trying to remember which book a particular recipe was in.  So now all my absolute favourite recipes go in here (many of which I will be posting on this blog).  I've had all different methods for recording recipes in the past, index cards, typing them on the computer, etc but this is more personal and it will be something to hand down to my kids when I pass.

I handwrite each recipe and will be adding notes, sayings, sketches and doodles, bits and pieces as I go... a kind of recipe scrapbook if you like.  It's well used and has a few food splashes on it but that's what makes it mine.

Anyway, until next time

Yours in Stitches

Leanne x


Tuesday, 3 June 2014

Chicken Puffs

Hello friends, today I thought I would share with you one of my family's favourite recipes... Chicken Puffs.  Many years ago, when I was in my early 20's (mmm MANY years ago lol), my boyfriends mother would often make this delicious chicken in pastry dish.  It was real comfort food and the perfect dinner for the cold nights we are beginning to have here in Melbourne.  The thing is that it looks difficult, and could even be served up at a dinner party, but isn't.


Chicken Puffs                    serves 6


3 skinless chicken breast fillets, cut in half
1 pkt of cream of chicken soup
120g softened butter
6 spring onions, trimmed and sliced
a little freshly ground pepper
3 sheets ready made puff pastry


Preheat oven to 200 C.

Blend soup powder with butter, spring onions and pepper.

Cut each pastry sheet in half.  Place one chicken piece on each piece of pastry.


Place a large tablespoon of butter mixture on top, brush sides of pastry with a little water, and fold pastry over chicken to form square pasties.


Fold up edges and press.


Bake on greased/lined oven tray for 20 minutes.

Serve with mashed potato and steamed vegetables.


And there you have it... simple, impressive and oh so yummy!

I love things that bake in the oven because it leaves me time to sneak in a bit of sewing ;)

I hope you enjoy this recipe.  If you have any queries, let me know in the comments and I will endeavour to assist.

Yours in stitches


Leanne x

Wednesday, 14 May 2014

Time for tea

I've had a lovely couple of days, busy but just lovely.  Firstly, Mother's Day, or Mother's Day Weekend as I have now renamed it (one day was never enough to honour me lol) started on Saturday with homemade waffles for breakfast and lunch at a local pasta restaurant.


Then Sunday, with bacon and eggs served in bed by DH and a few little visitors bearing gifts of all sorts: cabled scarf, football scarf, teddy bear mug, slippers and a sweet little notepad.  We headed off to the countryside to visit my Mum and Dad mid morning and had homemade pumpkin soup for lunch followed homemade coffee flavoured ice-cream and lounging about catching up on this and that.  Very relaxing!

Monday came before I knew it and so time to get back to being busy.  Currently I am studying to become a certified bookkeeper and so there is homework to be done, and assignments to be submitted.  I severely underestimated the amount of work this course entails and each unit seems to drag on forever, but I am enjoying it and hope to be finished by the end of the year.

Yesterday I had a most enjoyable catch up with a couple of girlfriends.  Oh were we spoilt!  There is only three of us but this time the host put on a huge spread and this included SCONES!  Oh my... I love nothing more than a freshly baked scone with strawberry jam and whipped cream.  One of life's sheer delights.  Coupled with a hot cup of tea I can think of nothing better to enjoy in the afternoon before the hustle and bustle of school pickup.

My favourite scone recipe is Lemonade Scones.  A little messy to make I must confess, but light and fluffy and a real pleasure to eat.  Here is my version:


Lemonade Scones

3 Cups Self Raising flour
a pinch of salt
1 cup of lemonade
1 cup of thickened cream

Preheat oven to 220 C.

Sift dry ingredients into large mixing bowl and make a well in the centre.

Pour in the lemonade and cream and gently mix together with a knife.  Empty contents of bowl onto lightly floured bench top and knead very gently.

DO NOT over handle the dough.  You may need to sprinkle over a little flour whist kneading to prevent sticking. 

Cut 12 scones with cutter and place closely together on greased baking tray.

Bake 10-12 mins (longer if still doughy in the middle).

Serve with jam and cream.


The only other thing I like more than eating sweet treats is sewing.  I haven't been doing a lot, I must confess due to studying but I would like to give you a little sneak peak at something I've been working on.


You just never know when you start to experiment where a design will lead you.  It's not quite the look I'm after but I love it and it has lead me to experiment further with other ideas.  It's made using the selvages and strings from trimming/squaring up other projects so each fabric reminds me of the last time I used it.  I just love using up the scraps, its a very frugal project and the colours seem to sparkle against the white background.  It will be a cushion and I plan to finish it by the end of the week and put it up here as a free tutorial.

Also, this has been an ongoing work in progress for the past couple of years and is definitely a labour of love.


It's made of 1" paper pieced hexagons, hand sewn, and I believe the arrangement is called Grandma's Garden.  Typically, at the end of each day, my DH and I sit and catch up on a few TV series we are watching and I like to work on this.  It helps me wind down before bed and makes me feel I'm getting something done just for me.  Actually I have quite a few WIP's *oh the guilt* so have decided to add these on the sidebar to inspire me to finish them.  I can be so fickle sometimes jumping from one project to the next, as each one inspires me.  Why? Because I can! haha

Until next time

Yours in stitches

Leanne x