Showing posts with label BlanketLovez. Show all posts

Sunday, 20 July 2014

Cuteness!

Hello lovelies!  I've had quite a productive week!  A few good things are on the horizon and I am dying to share them with you.  Firstly, this week I bravely ventured off to meet my local quilters guild.  I realised I needed to be surrounded by people who share this crazy love for quilt making and I wasn't disappointed.  I discovered a whole group of lovely ladies who are just as passionate about this craft as I am.  Our meetings are once a month but there is a sub group that meets weekly.  It was also a surprise to discover that two of the members I already knew as their children go to the same school as mine!  Small world.  If your looking to connect with others who share your passion, make new friends and go to quilt related events, I highly recommend making your acquaintance with your local guild.

My other news is that next term I will be teaching sewing at my daughters primary school... I'm very excited about this!  My daughter and I have been coming up with some small but cute little things for the kids to make.  I made this little bucket pin cushion and this adorable little needle book.  The pincushion bucket I will soon be putting on the blog as a tutorial.


 They are super easy and quick to make so stay tuned.

Front

Back

Inside


The needle book pattern can be found over at nanaCompany.  I love how it uses mostly little scraps you have laying about from other projects.

In other news, I have put the tumbler quilt away for now, but started sewing these little I-spy jars.  I have built up quite a collection of these novelty fabrics.  I look forward to using them in some of my kids quilts for BlanketLovez but this quilt will be for our family.  I'm going to turn some of the blocks on their side to make it look like the jar has fallen over and some of the creatures have escaped.  I've just made the pattern up as I go, so when its finally together I might even draft it as a pattern for my new shop.


Anyway, a quick post today, but hope to be back later in the week with a recipe or two.

Yours in Stitches


Leanne x


Saturday, 28 June 2014

Two finishes!

Hello lovelies, just a quick post today to show you that I have been rather busy in amongst studying.   My daughters I spy quilt is finished, quilted and bound and ready to be sent to my nephew.  I love the way it turned out.


And I finally finished the borders on my star quilt... oh what a relief that is!  The outer red is the binding I will be using.  I had been putting it off but its finally done and ready to be long arm quilted.


Now I can start on my tumbler quilt... Yay!  The winter weather has really set in here with gale force winds and flash flooding in some suburbs of Melbourne.  The days are gloomy and getting outside for a walk is becoming a battle.  Hope the sunshine reappears soon.  Today I took myself to the Craft and Quilt Show... oh what fun!  Fabric, fabric and more fabric... I was in heaven.  But I will post more about that soon, as I'm really tired and need to put my winter pjs on and hop into bed.

Until next time

Yours in Stitches


Leanne x

Wednesday, 11 June 2014

Ta Da! Star quilt and risotto.

Hello beautiful people.  Well I'm feeling very happy today!  It's a lovely, sunny, autumn day here in Melbourne... and....  my the piecing of my star quilt is complete!  I just have the borders to sew on before I send it off to BlanketLovez to be long arm quilted and bound.  From there it will find a new home at the Star Room in the Ronald McDonald House in Orange, NSW.


I must say its turned out wayyyyy better than I had imagined.  I love its rainbow colours and the pattern was straightforward and involved mostly chain piecing - what could be better!  If you intend to make this pattern, I would highly recommend drawing that dreaded diagonal line on each of your 2.5" blocks (Bonnie does suggest this in the pattern).  I didn't, out of sheer laziness, because I thought "hey, I'll just wing it" but then felt compelled to check each completed block to make sure it was still 4.5" square.... very time consuming.  The few where I had drawn the line were spot on, most were ok, but there were some that were so off I had to replace them with new blocks lol.  Oh well, with each quilt we learn something.  I'll post another pic with the borders on, in a few days.


The weeks are just flying by at the moment.  I've started my next group of subjects for my bookkeeping course (Asset Depreciation *yawn*) and we seem to be in the midst of birthdays, my Dad's last Saturday and my DH organised a lovely lunch at a rather spiffy hotel for his daughter who turned 18.


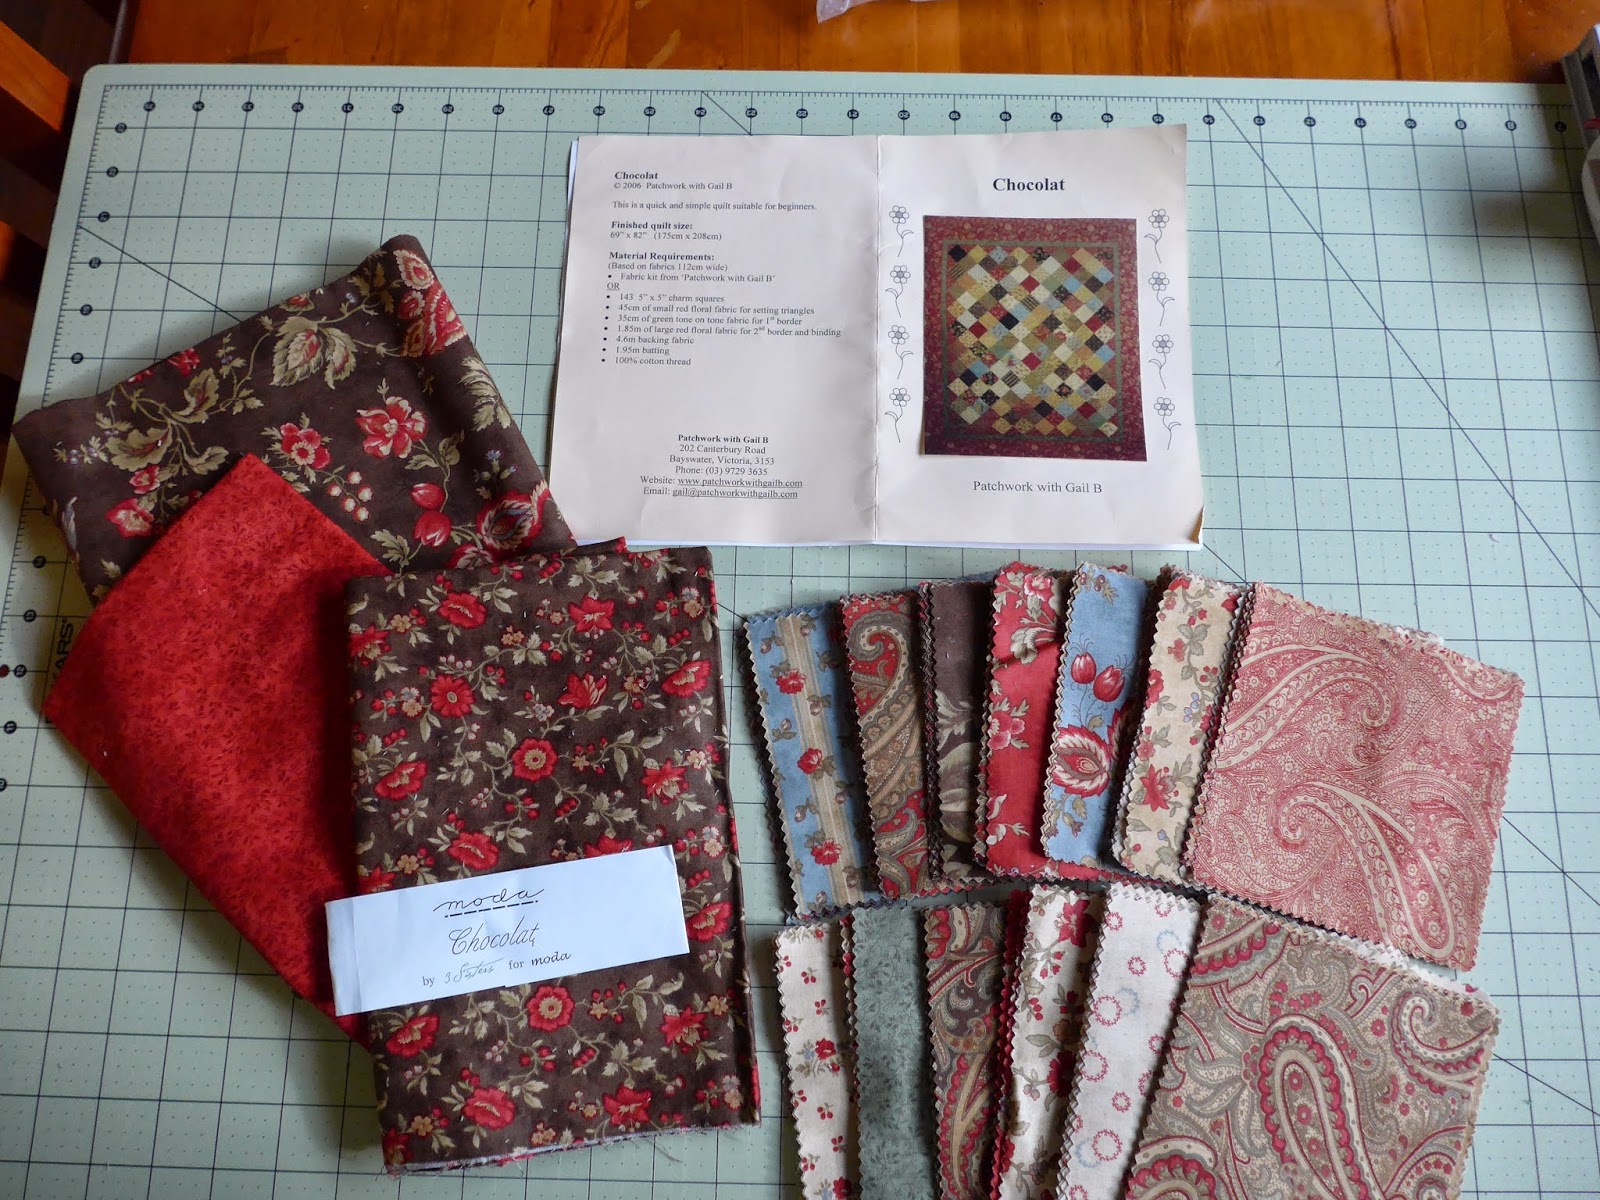
I found an old quilt kit I had bought many years ago at a quilt show.


I still love the fabrics but find the pattern doesn't really interest me anymore.  The kit came with 5" charm squares and all fabrics to make the top and even included the backing.  I've been itching to make a tumbler quilt and found this video on making the blocks from charm squares without having to buy a tumbler template.  Wonderful!


So I have cut the charm squares into the tumbler blocks and can't wait to start laying them out.  This is what has been pushing me to get the star quilt finished.


I thought I would share another recipe with you.  I love to feed my family meals made from real, back to basics, ingredients.  Wholesome and nutritious, just what growing bodies need - real food!  We had this earlier in the week and I had forgotten how tasty it is.  Previously I would make risotto the traditional way... lots of stirring and ladling in stock.  Pfft, this recipe requires none of that, and the results are superb.  Feel free to vary the ingredients and make it your own.


Oven-baked Tomato and Chicken Risotto            Serves 6


1 tbsp olive oil

1 brown onion, finely chopped
100g rindless bacon, chopped
500g chicken breast fillets, diced
2 cloves garlic, crushed
1 tsp finely grated lemon zest
1 tbsp finely chopped fresh rosemary
1/2 tsp dried chilli flakes (optional)
2 cups aborio rice
2 tbsp tomato paste
4 cups chicken stock
grated parmesan to serve


Preheat oven to 160C (fan forced).


Heat oil in large flameproof, ovenproof dish over medium heat.


Cook onion and bacon for 2 minutes.


Add chicken and cook, stirring for 3 - 4 minutes.


Add garlic, lemon zest, rosemary and chilli, if using, and cook for a further 2 minutes.


Add rice and cook, stirring for 1 minute.


Mix tomato paste and stock in a jug.  Pour over rice mixture.


Bake, covered, for 35 minutes or until rice is just tender and the liquid has been absorbed.


Stir through parmesan.


*****

Have I told you about my little recipe book?


I bought myself this little red hardcover notebook and in it I record all my favourite recipes.  I have some wonderful cookbooks but I got so tired of trying to remember which book a particular recipe was in.  So now all my absolute favourite recipes go in here (many of which I will be posting on this blog).  I've had all different methods for recording recipes in the past, index cards, typing them on the computer, etc but this is more personal and it will be something to hand down to my kids when I pass.

I handwrite each recipe and will be adding notes, sayings, sketches and doodles, bits and pieces as I go... a kind of recipe scrapbook if you like.  It's well used and has a few food splashes on it but that's what makes it mine.

Anyway, until next time

Yours in Stitches

Leanne x


Monday, 2 June 2014

Oh what a wonderful weekend!


Hello lovelies, can I tell you I had the most wonderful weekend?  DH and I did something we haven't done in a very long time... spent the whole weekend together without kids!!!  It was just what we needed.  Fortunately we live in the beautiful city of Melbourne, Australia and the weather was just perfect on Saturday, a perfect autumn day.


We went on the magnificent Melbourne Star Observation Wheel (like a giant ferris wheel) , one of our cities newest attractions, and I'm so glad we did.


The view was absolutely breath taking.  Being suspended so so far above the ground was, I have to say, a little unnerving, particularly if you're not fond of heights.  But just take a look at these brilliant pics taken on my new camera!  I took so many photos, these are just some of them.  It's very hard to do this structure justice, its just enormous.

The wheel moves constantly, even while passengers are getting on and off, however its so smooth and slow that you barely notice that you are moving, just that the ground is moving further away.

A pod coming into the terminus.

Our pod is ready to board, gotta be quick though because they don't stop!


Leaving the terminus.

Here we go!


Going up up up!

Docklands Precinct.


The view looking towards the CBD.

Reaching the top of the wheel.  Scary but oh my, look at that view!


View of the port and the Westgate Bridge very faint in the distance.

Over the crest now and coming down the other side.

Coming back into the terminus.

Getting ready to disembark whilst in motion!

It was truly exhilarating and I highly recommend it to anyone living or visiting our beautiful city.  I've lived in Melbourne all my life and I have to say, there is always something interesting to do or see here.

This wonderful experience was followed by a late lunch at the nearby Harbourtown Hotel (always good) and a spot of shopping.  By this time the sun was starting to go down, and after some peanut butter and snickers bar ice-cream from Cold Rock, managed to capture these pics of the wheel at night, lit up in all her splendour.


Then it was time to head home for a night walk with our dog, and reach my 10,000 steps for the day.  A few months ago I bought myself a FitBit.  Marvelous little gadgets they are!  Mostly they track your steps for the day and encourage you to meet fitness goals.  I've started pushing myself to walk for 45mins to an hour everyday in an effort to lose about 25kg by the end of the year.   Ohhhh it seems so overwhelming at the moment, but I shall keep plugging away... walking more and eating less!

Sunday was another lovely day, although the weather turned for the worst and it drizzled for the majority of the day.  We were fortunate to have free movie tickets so went to see The Other Woman at the local cinemas.  Very funny movie, highly recommended.  We then had lunch at Schnitz, then a little bit of shopping, then home to yet again walk the neighbourhood.

As you can imagine, I didn't cook once for the whole weekend lol

Now, as for sewing, I received a request from BlanketLovez to make a star quilt for the Ronald McDonald House Star Room in Orange, NSW.  So I thought I would give this quilt by Bonnie Hunter a go.


I love the simplicity of it and I thought perhaps bright colours would be more appropriate for this quilt.  So I have been sewing away madly and double sewing the leftover triangles (as Bonnie recommends) so I will get another project out of these.

Blocks for the quilt

Bonus triangles!


Two birds with one stone... love it!

I laid out a couple of blocks just to see how it would look... so exciting.  I can't wait to lay all the blocks on the floor to see the larger effect.


As you can see I've used mostly tone on tone fabrics in rainbow colours.

Stay tuned for more pics as I progress.

Yours in Stitches

Leanne x


Thursday, 22 May 2014

Rag Rug Success!

Wow!  Just finished my very first rag rug and I think I might be hooked.


Now you must understand, I'm a bit of a fussy quilter.  I like things to measure right, sit right and fit together right.  I'm all about clean lines.  But working for BlanketLovez gives me the opportunity to do a little experimentation from time to time.  The rag rug is something I've always wanted to try but it wasn't terribly high on my list.  I'm certainly glad I did try it.  I'll admit initially I thought it was something I could just 'whip' together in a jiffy.... ahhhh WRONG!  You know, sandwiching the batting between the back and the front at the beginning saves you all that quilting at the end.... ummm well, sorry to tell you, it takes just as long as any other quilt made the traditional way.  And all that clipping of seam allowances at the end... oh my, what a pain!  Nevertheless, it was truly worth it, the results are impressive.  AND, this is the part I love, it uses up all those pesky offcuts of batting!  Bonus!  Next time I think I will try making one out of flannel fabrics, I think the softness would be divine.

My starting point was here.  I found these instructions to be very helpful but there are a few things I would do differently in hindsight.

So here we go.  I will put up my version of instructions here and later add them as a tutorial on separate page in the side bar.  Bear in mind, I do assume you have a basic knowledge of quilting and sewing on binding.

First, if you are using leftover scraps of batting, this will most likely determine your block size.  I cut my batting into 5" squares.  Remember you can sew smaller pieces of batting together to make a wider piece.  Simply cut straight edges, which you butt together and, using a zig zag stitch and a walking foot, simple sew together.  You may get a few more blocks out of this.

Next, you can use either cotton quilting fabrics (as I did) or flannel fabrics.  Cut your fabric blocks 1/2 to 1" larger than the wadding blocks.  In my quilt I cut them 1/2" larger at 5 1/2" but I think next time I would cut them 6".  The raggy edges is what gives the rag rug its cuddly look so I think you want to enhance that feature.  Of course its just personal preference.


Of course you need twice as many fabric squares as you think because you are doing the front and back of the quilt at the same time.  Your backing squares may be the same as the front or different, entirely up to you.


To layer, place your backing piece wrong side up, centre the wadding on top,


the place front piece right side up and pin together.  These mini quilt pieces are going to join together to make the large quilt.


Next step is to quilt them so they hold together.  Using a walking foot (highly recommended to stop the layers shifting as you sew but you can do it with a normal foot if necessary)  and matching thread, sew a line across the block diagonally, from one corner to the other.  I found it quickest to chain piece them.


Clip them apart and then sew diagonally across the way so that you create a quilted X across each block.


Place them in their final arrangement on the floor, ready to sew your rows.


Separate into rows and start by sewing the blocks together with BACKING SIDES TOGETHER using a seam allowance equivalent to the difference in size from your wadding to your fabric squares.  My wadding was 5" and my fabric squares 5 1/2" which only left 1/4" for the seam allowance.  That is something I would do differently next time.  After sewing one seam together, I soon realised I was leaving myself very short for the rag rug look.  So I increased my seam allowance to 1/2".  Much better.  In hindsight, I would have cut my fabric at 6" square then I would have had 1/2" for my seam allowances.  To be honest, this quilt isn't all that fussy and you can get away with a bit of play.  I do have a bit of wadding coming through my seam allowances and maybe thats what makes them sit up nicely.  Have a play and see what you think.


Now if you've done quite a bit of quilting in the past, old habits die hard and you will find yourself automatically putting front pieces together.  Remember that we want the seam allowances on the front so, when sewing two blocks together, sew with the backing sides facing each other.

Once the rows are made, start joining the rows in the same way, backing sides facing each other and when you get to the seam intersections, open them up.  I think the best explanation of this is from the site I referred to earlier.  The seams need to match (as you would normally do) but seams need to be open on the top and the bottom pieces.  I think this pic (from the above mentioned site) says it all.


 Ok so you have your rag rug together, and its truly looking like an old rag lol.  At this point, I was wondering what I had wasted my good fabric on.  Was this really going to work???? Rest assured it will look better than this.  You've come this far so lets push on.  It starts to make real progress from here.

Now, I decided to bind my quilt but you don't have to, you can sew a line around the outside of the quilt 1/2" from the outer edge and clip it (as shown below) like the other seam allowances.  I quite like binding, I think it finishes off a quilt nicely.  I cut my binding at 3" (which is then folded and pressed in half) and attached in the usual way with a 1/2" seam allowance (opening up the seams on the edges so they lay flat).

Next up is the clipping.  This looks easy, and it is, but its tiring.  Grab some sharp pointed scissors and begin clipping the seam allowances about every 1/4 to 1/2" .  This creates a lot of fluff and threads!


Once you've done that, throw into the washing machine, and then into the dryer until dry.  The more you wash this quilt the softer and raggier it will get!

Before washing and drying.


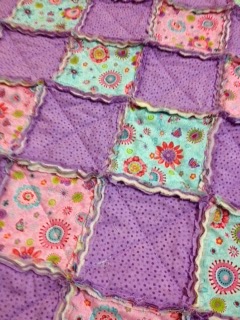
After washing and drying.


This is the back... oh yes, those clean lines still appeal to me!


But of course, the best part is this.... Sharing the love  <3


If you have any questions regarding the above, please feel free to leave a comment and I will endeavour to assist!

Until next time

Yours in Stitches

Leanne x