Thursday 30 October 2014

It's been a while... what I've been up to!

Hello all, I'm sorry its been so long since my last post... Oh my, time got away from me!  I'm afraid I've been quite busy, mostly just with life in general and a few little challenges that have come our way, but I've also been working on a few craft related things.  Presently study has become my top priority as I try to finish up assignments before the end of year cut off.

The weather is a bit up and down at the moment in Melbourne, we've had a few really beautiful, sunny days and then we've had a few absolutely horrid days where we wondered if winter had made a return.  Overall though the weather is on the improve which I find helps my mood lift and I seem to have more motivation to get things done.

School went back from holidays on the 6th October and every week I have been teaching the Grade 5's and 6's some basic sewing and crafting skills.  We are all really enjoying it, and to my surprise, we even have a few boys in our class which is brilliant.  We started off with some kids sewing kits, my little bucket o pins pincushions, hanging hearts and last week, a cute little snowman ornament.


Snowman ornament with LED candle nose


I usually prep the items into little kits before I go, which means there is less scrambling for items, no arguing over colours and we can get started quickly.  Some of them found the sewing a little tedious so I have included a few gluing based crafts to keep everyone enjoying the creativity.  They usually follow my instructions and then individualise their project at the end.  I love seeing what they come up with.

Some time back I was asked to make a lap quilt for a friend of mine who was in remission from breast cancer.  She was going to a Breast Cancer Breakfast where each attendee was asked to donate something to be auctioned on the day with the money raised going to breast cancer research.  Well, I ummmed and arrred over this for weeks, trying to think of a design that represented breast cancer but would appeal to a wide audience.  We didn't have a great deal of time, and with study, work and family commitments, neither did I, so I chose a pattern that was fairly easy and repetitive to sew.

I ended up choosing a pinwheel design, using some of the pinks I had in my stash.  I purchased a couple more to complement what I had and off I went!


Considering that the pinks were quite different, because of the white, it came together really well.

Once the middle was done, I found this Baby Pinwheel blanket pattern on Moda Bake Shop and thought the prairie points would complement it perfectly (my first time doing prairie points so I'm very proud !).


I thought a pieced backing would save on costs and I also love how much more interesting they are than a plain backing.


I finished it off with stipple quilting on my domestic machine and machine bound it.  It finished up at 130cm square.


And here is the finished product... ta dahhhh !!!


I'm so happy with the result and so was my friend.  It sold for $220 on the day.

I've also made some progress on my Grandma's Flower Garden WIP.


Rather than cutting the hexagons to add the borders, I've appliquéd the last row of hexagons onto the border strip.  I love the decorative edge it's made.  Of course now I'm left with tackling the corners but thats the way these unplanned quilts go.  I've had some helpful, much needed, advice from the quilters guild group I attend.  I tell you, joining that group has been wonderful for me.  Loads of wonderful advice and inspiration.

Well thats it from me for today

Yours in Stitches

Leanne x


Wednesday 20 August 2014

Slow Cooked Creamy Chicken and Mushroom Casserole

We love our casseroles here at Crystalbrook Cottage!

This recipe is another of our family favourites.  It's so easy and cooks itself in the slow cooker during the day whilst I'm doing other things.  When dinner time comes you just need to cook some rice (I get the rice cooker out for that lol) and serve.

This recipe makes enough for two nights dinner, and at a guess, I would estimate it would serve 12 modest portions when served with rice.

Slow Cooked Creamy Chicken and Mushroom Casserole


Ingredients:

1.5kg skinless chicken breast fillets, trimmed and cut in half
3 medium carrots, sliced
3 medium potatoes, diced into 1cm cubes
2 x 420g cans Campbells Cream of Mushroom Condensed Soup
2 x 420g cans Campbells Cream of Chicken Condensed Soup
200g sliced mushrooms


Method:

Place the carrots and potatoes in the bottom of the slow cooker.  Place the chicken fillets (raw) on top of the vegetables.  Pour over the tins of soup and completely cover the chicken.  This may seem like a lot of soup but this is what makes the beautiful creamy sauce and you want a lot for your rice to soak up.

Place on Auto for 6 hours.  If your slow cooker doesn't have an auto setting, high for 4 hours or low for 6 - 8 hours.

An hour before the casserole is ready, stir through the mushrooms and continue cooking.

Prior to serving, take out the chicken pieces.  They should be cooked through and break apart easily.  Shred the chicken and return to the pot and stir.  Once your rice is ready, the casserole is ready to serve.  Here I've served mine with savoury brown rice.


Just perfect for these cold winter nights we are having in Melbourne... brrrr!

Until next time

Yours in Stitches


Leanne x


Thursday 14 August 2014

Little Bucket O Pins Tutorial!


You will need:


1 mini tin bucket (mine came in a pack of 3 from the cheap shop.  It measures 5cm in height and 6 cm across the top)
Piece of patchwork fabric approx 25cm square
Needle and strong thread
A large handful of Polyfill stuffing
10cm Ribbon
15cm Ric Rac/trim
Hot glue gun
marker
scissors


Method:


On the reverse side of the patchwork fabric, draw a circle approx 18.5cm in diameter with a marker (I used a small cake plate to trace around).


Cut the fabric along the line.

Thread your needle with a long double thread and knot the end.


With the wrong side facing, fold the edge towards you and stitch a running stitch around, leaving the thread tail hanging.


Work your way around until you come back to the beginning (just like making a large yo-yo).


Gather the threads by pulling one end to create a ball.


Stuff until firm.


Knot the threads to secure, and trim excess thread.


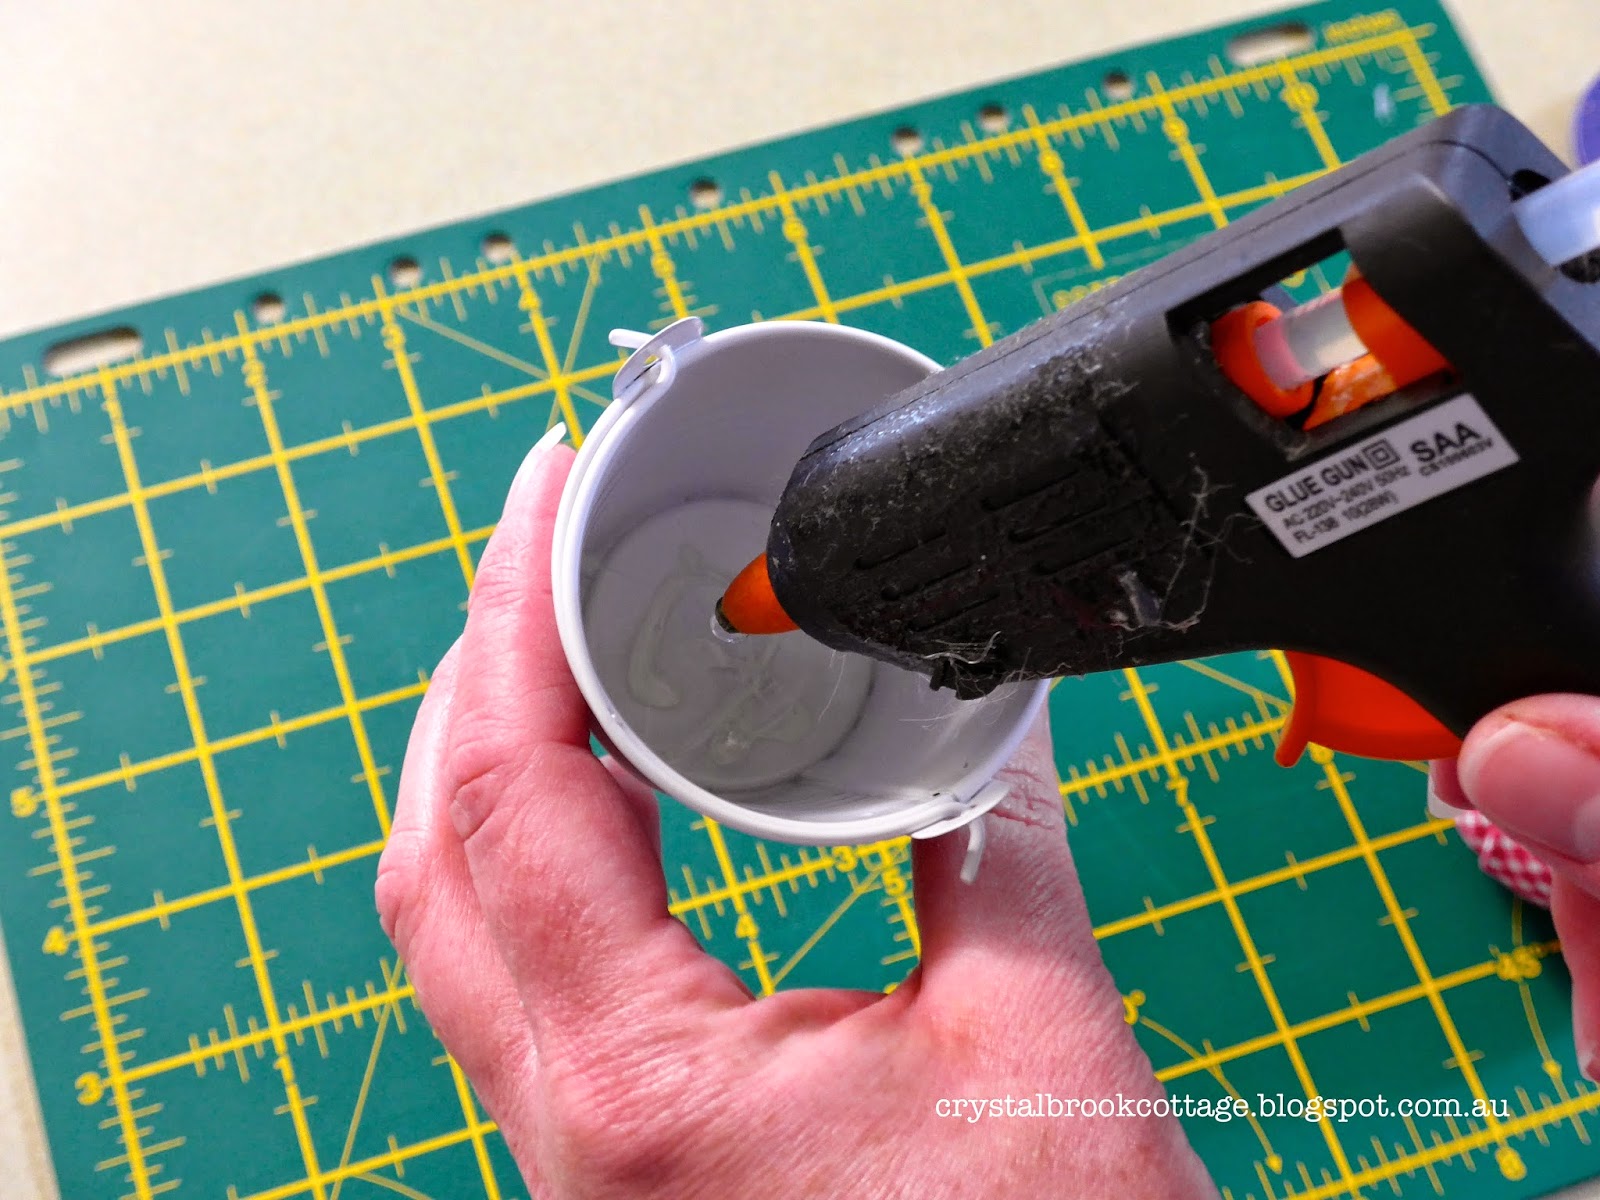
With the hot glue gun, apply some glue to the bottom and inside of the bucket, keeping away from the rim.


Place the stuffed fabric ball inside with the gathered end in first.  This is the pincushion made, now for the decorating.


Apply a small dots of hot glue to the bottom edge of the outside of the bucket, affix trim.


Tie on the ribbon to the handle and trim ends.


Place some pins in the top and... ta da! Easy peasy!

You can also try using this method to make pincushions out of old china teacups, little ramekins, eggcups, silicone patty cases or even recycle an old tuna tin!  The possibilities are endless!  I'd love to see what you come up with :)

Tuesday 12 August 2014

A new look and exciting news...

I am absolutely loving our 'new look'! Thanks to Naomi of Nomie Boutique Stationary we have a new logo - what do you think?  Its all part of taking this little business to the next level.  Soon I will be opening an Etsy shop, selling some of my patterns - I am so excited about that, although its very daunting and there is so much to learn.

I haven't been able to post as much as I would have liked.  I have been incredibly busy with a couple of new projects in amongst looking after the family and studying.


These projects I really would love to share with you but both (yes both!) have been accepted into one of Australia's leading craft magazines and scheduled to appear this time next year (its a long wait!).  Magazines plan their future issues a long way in advance so I have some time up my sleeve before the actual pattern has to be submitted.  I am thrilled that they are so interested in my work and there is even talk of my designer profile being published.  You could not wipe the smile off my face the day I found out.  It will be great advertising for me and the shop, which should be well and truly up and running by then.

I also bought myself a present: a light pad, which I have wanted for so long, is fabulous for tracing designs onto fabric!  Its been invaluable these last few days.


A special thank you to the Daylight Man for their expert service and prompt delivery.  I'll definitely be ordering from them again (I have my sights set on a floor lamp).  If you'd like to order your own Lightpad they come in A4 and A3 sizes and are they cheapest supplier I have found, with free delivery Australia wide for orders over $50.

The weather here in Melbourne has been icy cold - its definitely winter!  Jack Frost has come to visit on quite a few mornings


and we've even had some hail

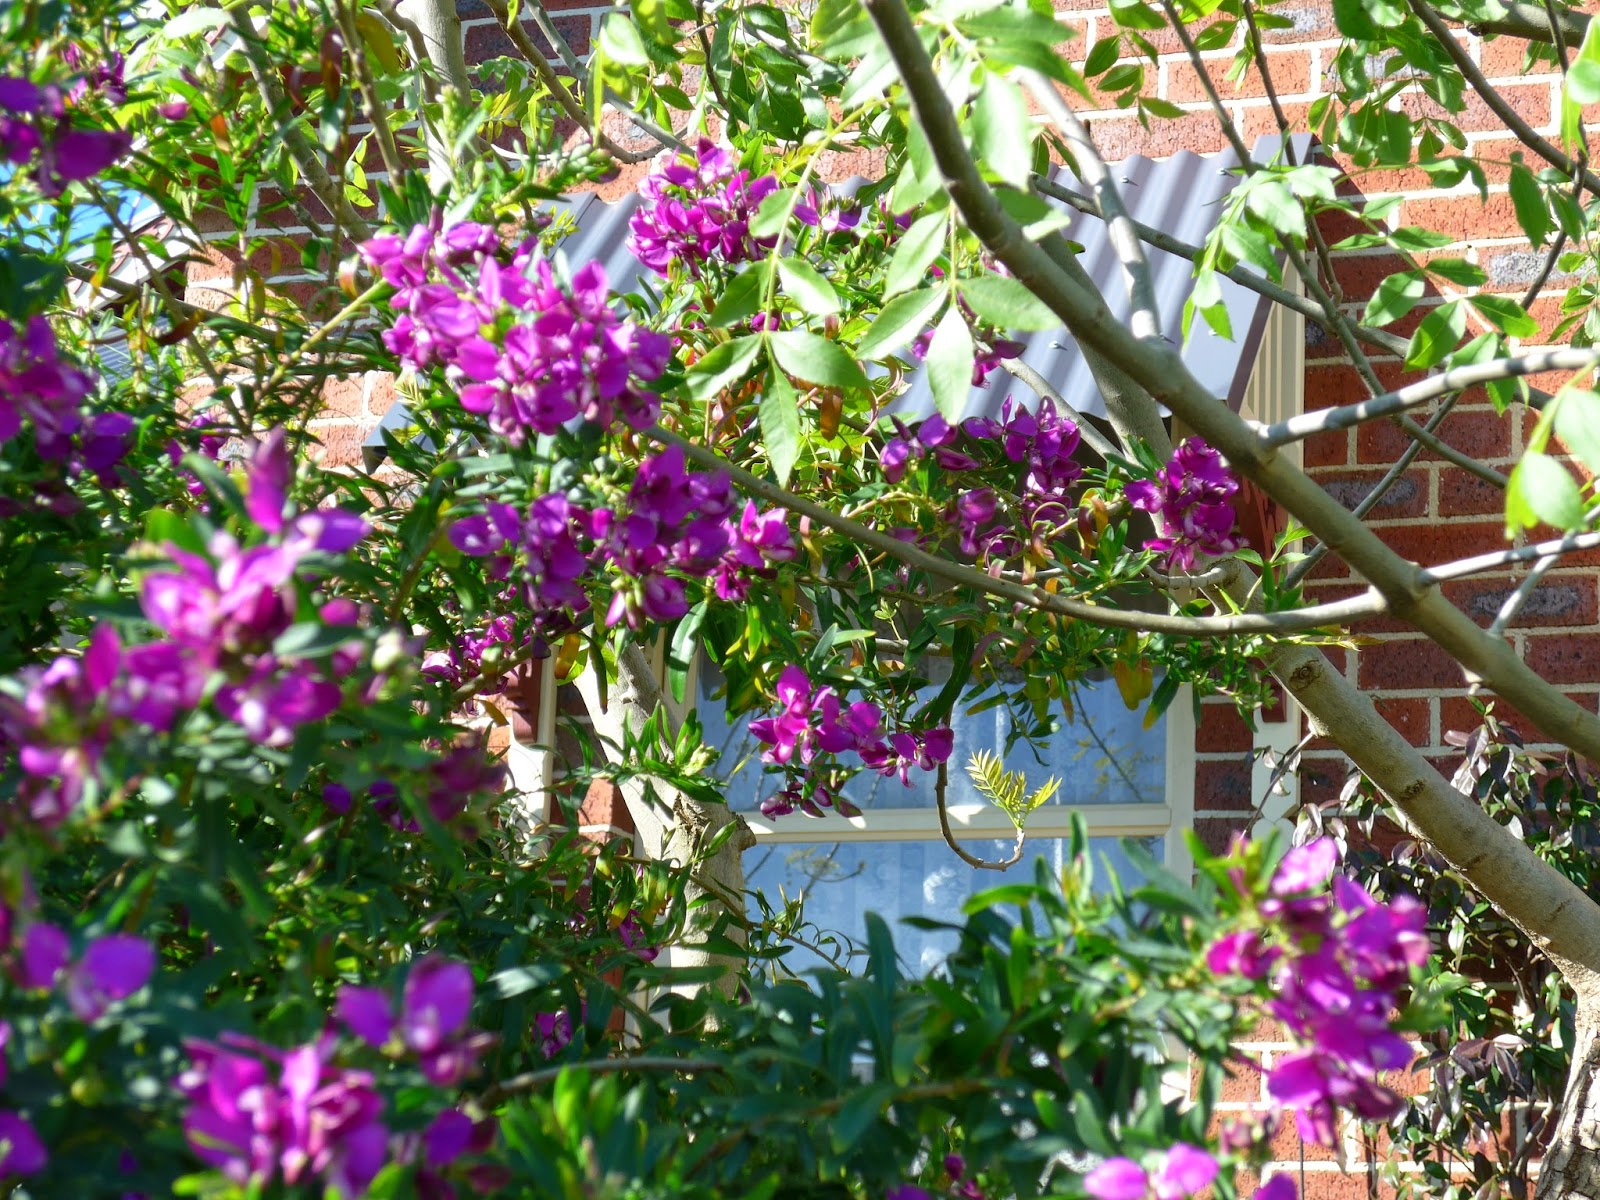
and quite severe storms.  I am thankful I don't live in some of the colder areas of the state - they've had snow!  Of course, this makes us appreciate the sunshine that does appear occasionally, that little bit more.  I am so grateful I have a warm house to live in, a roof over my head, a warm bed and my stitching to keep me company whilst I sit on the couch.  On the plus side, there are a few things in bloom in my garden.


One of my WIP's, my Grandmas garden hexie quilt, has been making some progress.


The paper piecing is now complete and I'm moving onto the borders.  This project has been on the go for about three years so its great to see it finally approaching completion.  I am so happy with it.  It was one of those projects that just evolved as it went along, with no real plan.  As a result, there is a slight difference between the white fabrics (more had to be purchased halfway through) but I think it will be less noticeable once its quilted.  I have consoled myself with the rational that many quilts of yesteryear were less than perfect as their makers used what they had and often had to compromise.  Its quite long because I've decided its going to double as a tablecloth.  I think it will be lovely to decorate the dinner table when guests come over (under a plastic cover of course!).  I'm linking this post to the Freshly Pieced blog for WIP Wednesday, Lets Bee Social over at Sew Fresh Quilts, and Heather and Megan at Quilt Story!

I have been making some more of those cute little needle books for my local quilters guild as they will be having a quilt show in September this year.  Many in the group are making things to sell at the stall.

I've also been racking my brain trying to come up with some little sewing projects for my daughters school.  As I mentioned previously, I will be teaching some 10 year olds to sew.  Finding small, interesting but uncomplicated projects is not as easy as I had imagined.

My little bucket pincushion tutorial will be up soon... promise!

Until next time,

Yours in Stitches,

Leanne x


Sunday 20 July 2014

Cuteness!

Hello lovelies!  I've had quite a productive week!  A few good things are on the horizon and I am dying to share them with you.  Firstly, this week I bravely ventured off to meet my local quilters guild.  I realised I needed to be surrounded by people who share this crazy love for quilt making and I wasn't disappointed.  I discovered a whole group of lovely ladies who are just as passionate about this craft as I am.  Our meetings are once a month but there is a sub group that meets weekly.  It was also a surprise to discover that two of the members I already knew as their children go to the same school as mine!  Small world.  If your looking to connect with others who share your passion, make new friends and go to quilt related events, I highly recommend making your acquaintance with your local guild.

My other news is that next term I will be teaching sewing at my daughters primary school... I'm very excited about this!  My daughter and I have been coming up with some small but cute little things for the kids to make.  I made this little bucket pin cushion and this adorable little needle book.  The pincushion bucket I will soon be putting on the blog as a tutorial.


 They are super easy and quick to make so stay tuned.

Front

Back

Inside


The needle book pattern can be found over at nanaCompany.  I love how it uses mostly little scraps you have laying about from other projects.

In other news, I have put the tumbler quilt away for now, but started sewing these little I-spy jars.  I have built up quite a collection of these novelty fabrics.  I look forward to using them in some of my kids quilts for BlanketLovez but this quilt will be for our family.  I'm going to turn some of the blocks on their side to make it look like the jar has fallen over and some of the creatures have escaped.  I've just made the pattern up as I go, so when its finally together I might even draft it as a pattern for my new shop.


Anyway, a quick post today, but hope to be back later in the week with a recipe or two.

Yours in Stitches


Leanne x


Tuesday 8 July 2014

Winter progress.

Hello lovelies, sorry its been a little too long between posts (well, for me anyway).  It's school holidays here in Australia so the kids have two weeks break from school.  As much as I like the company, the bickering and fighting is exhausting at times.  Nevertheless, we had a few little trips out on the days the weather was clear.

On the sewing front, my Star Quilt was posted off to NSW last week to be long-arm quilted and then bound.  I cannot wait to see a pic of the final product!  So much fun.


Since then I have been working on my tumbler quilt.


I have really enjoyed this one.  I just adore these fabrics!  It will however, be the last time I purchase a quilt kit or charm squares for that matter.  I was really surprised to find that many of the charm squares were inaccurately cut - I think I prefer cutting my own from fat quarters.  And there was supposed to be 4.6 metres of fabric in the kit for backing and binding - there was only about 2 metres!!! Very disappointing!  But I think I'm fairly happy with the way it turned out.  The large print border (was supposed to be the backing fabric) is not really me... a bit too busy... I would have preferred a smaller print to highlight the tumblers more.  But since I had to buy new backing fabric I think I've spent enough on this quilt.


The kit I purchased many years ago from a quilt show and I recall it was about $200.  Now I just have to sandwich and start quilting.  I'm tempted to hand quilt this one as my hand sewing project, which I work on nearly every night while watching TV, is coming to an end.


I've featured Grandma's Garden hexagon quilt before (its a little crinkled from being crunched up while working on it).  I found some sweet polka dot fabric for the borders so I'm now just finishing the hexagons and then will attach the borders.  It looks incredibly sweet on my dining table as a table cloth, I can't wait to finish it.


Also, I haven't told you about the quilt show I went to a couple of weeks back.  It was wonderful.  I was unsuccessful in recruiting anyone to go with me but ohhhh I had a lovely time.  Just taking my time wandering the aisles, checking out all the new patterns, fabrics, etc each stall had to offer.  Pure heaven.  I was very good and only came home with a small stash.  A fat quarter bundle of the new range from Melly & Me, and some I-spy fabrics.


Not sure what I'm going to make with the Melly & Me fabrics but they are just gorgeous.

The quilt exhibition was amazing... so much talent!  Here are just some of the beautiful quilts I admired (I wish I knew how to display them in a grid or slideshow):


The quilting is just exquisite!


Postage stamp quilt of 1" squares, hand pieced and quilted!


A colourful tumbler quilt!


Love this hexagon quilt, just beautiful!


Amazing hexagon quilt with teeny tiny hexagons!!!  All hand pieced of course!


Hexagons in diamond format

Love this selvage quilt!


Itty bitty stars!


Dear Jane quilt!


Loved this one, little pieced baskets.


As you can tell, I have a bit of a thing for vintage quilts.  The detail in these quilts was incredible, real works of art.

On a sad note though, this week the quilting world learned of the passing of a beautiful quilter Julie Wallace of Quilters Barn.  Such a talented quilter, I'm sure her designs will be enjoyed for many years to come.

I found some beautiful quilt patterns from the Make It Do website here and here.  Ohhhh there is nothing like the prospect of a new quilt, oh the possibilities really do inspire me!

My studies have been seriously neglected but its been nice to have a rest and laze about the house.  I have been looking into making my own house cleaning products in an effort to save some money.  Last night I made my own dishwasher powder.  I used to make this years ago and still had the recipe. It works a treat and is so cheap to make.

Dishwasher Powder


1 cup Borax
1 cup Bicarb Soda
1/4 cup salt
1/4 cup citric acid
30 drops of essential oil (I used lavender, but orange or lemon would be nice)

Mix together and store in an airtight container.  Use 1 tablespoon per load.

I also added a couple of drops of dishwashing liquid with the powder in the dispenser and filled the rinsing liquid dispenser with vinegar.  I'm very happy with the results.

I'm trying this today:

Laundry Powder


4 cups grated pure soap (grate by hand or use the grater blade on your food processor)
2 cups Borax
2 cups Washing soda powder (not crystals) (known as Lectric Soda in Australia)

Mix well and store in an airtight container.  Use 2 tbsp per load.  If you wash in cold water (as I do) dissolve the powder in hot water and add to wash so the soap dissolves.  This powder won't lather like commercial detergents but it still cleans well.  The lathering of commercial laundry products is due to an additive to make us believe that bubbles make things clean!  If you use your waste water on the garden, don't include the Borax - too much Borax is toxic to plants and worms.  If you need a more heavy duty powder, you can substitute 2 cups of the pure soap for 2 cups of grated stain remover soap or powder (ie. Napisan or Sards soap).


I am also making my own citrus multipurpose cleaner.

Citrus Multipurpose cleaner


Fill a glass jar with peels from citrus (I'm using orange peels, but lemon or lime peels are good too) and cover with vinegar.  Seal the jar and leave in a cool, dark place for 2 weeks.  Strain the liquid into a bottle.  The liquid is ready to use just as you would with a spray and wipe product (not for use on wood) or can be diluted with water if desired.

It will be interesting to see how this turns out.  Yes, I had a heap of oranges for lunch lol.  They are so sweet and juicy at the moment.  These were organic oranges... they were the same price as the normal oranges!


You may have guessed, I'm a bit of a homesteader at heart :)  I even have bread baking in the bread maker!  I'm on a roll.  These products are all much better for the environment than your purchased cleaners and much easier on the pocket.  They are also quick and easy to make.  I think I will do this once a month.

Well I think thats it from me, hope your getting some sewing done at your place.  Feel free to post a link to your blog in the comments :) I love seeing what projects others have in the works.

Yours in Stitches

Leanne x